There are many that wonder how do I do custom clothing and design. Well… there is a process. Below I will give you one example step by step on a denim skirt I created.
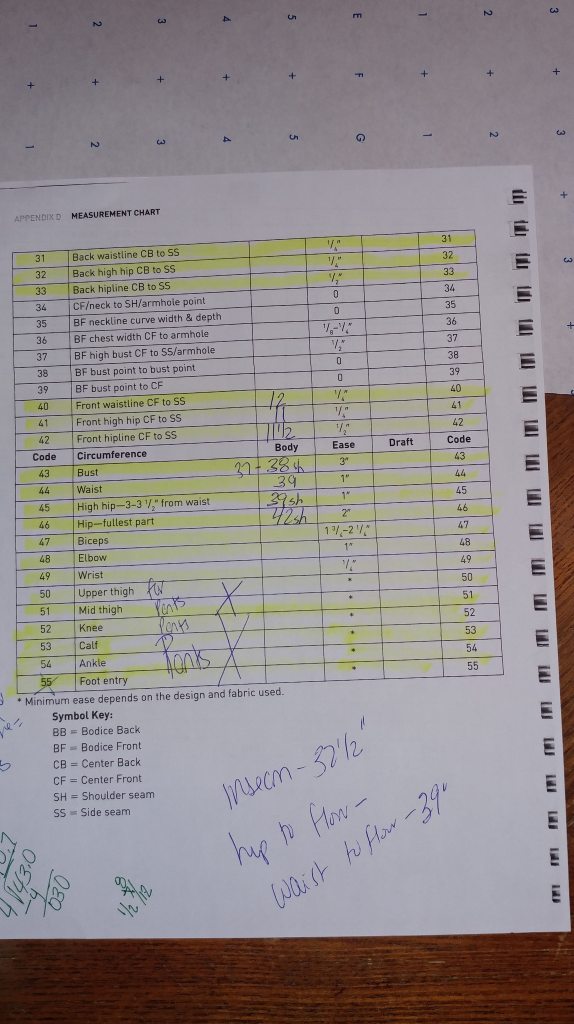
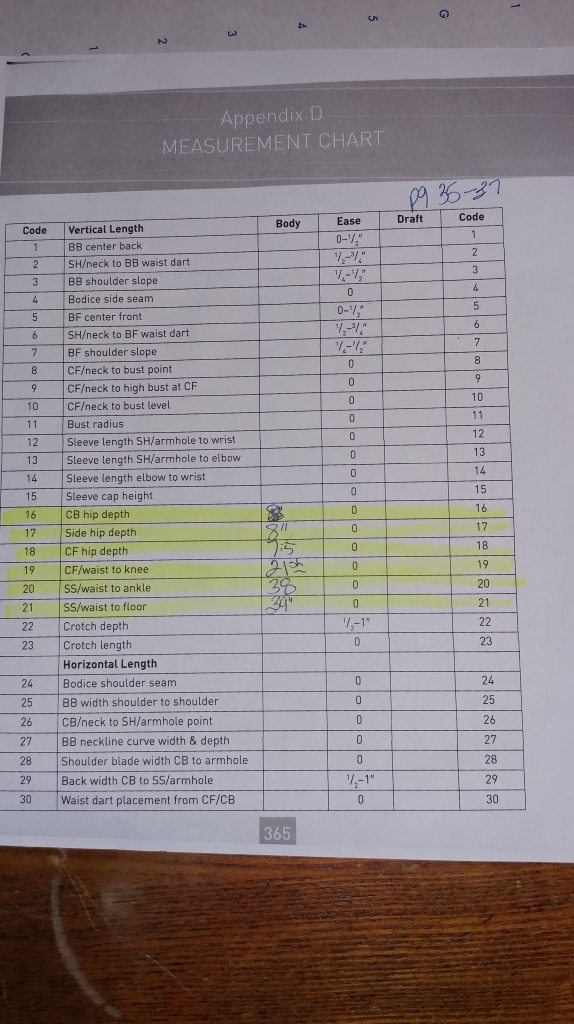
Step 1: Measurements of client (in this case it was me)
Step 2: Design — what does the client want you to make? (I wanted a long denim skirt)
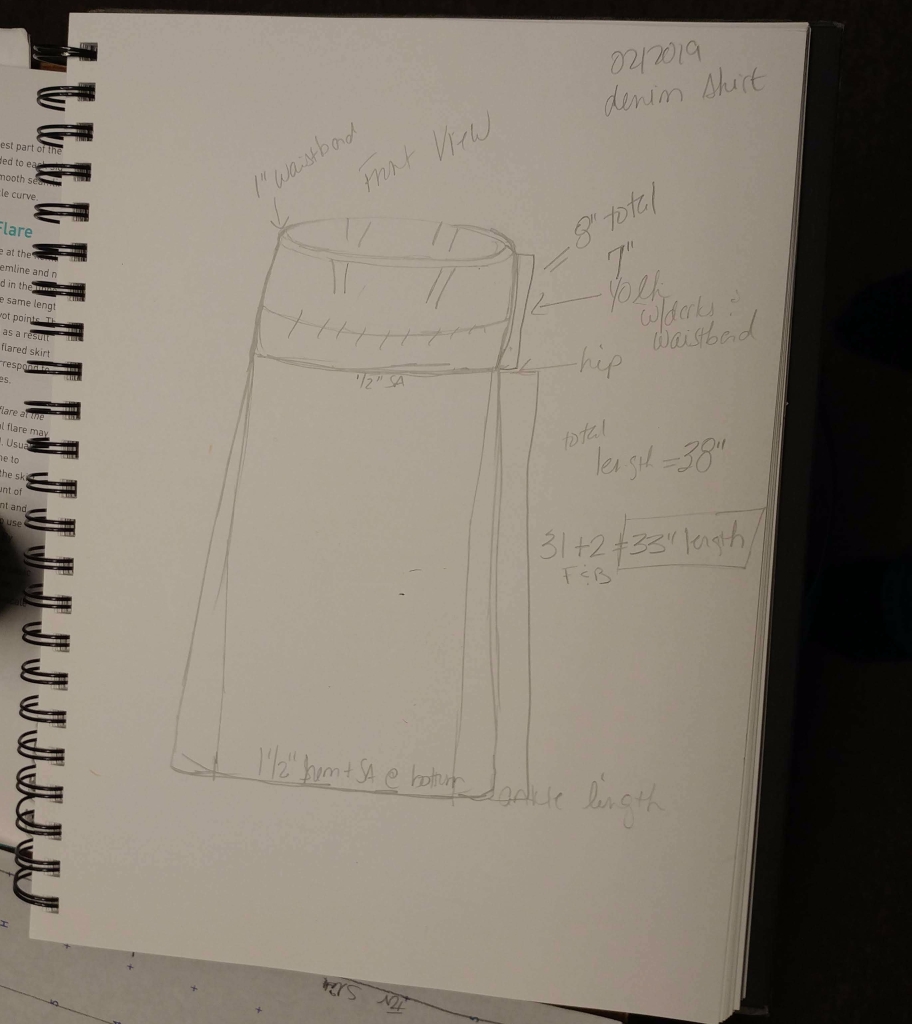
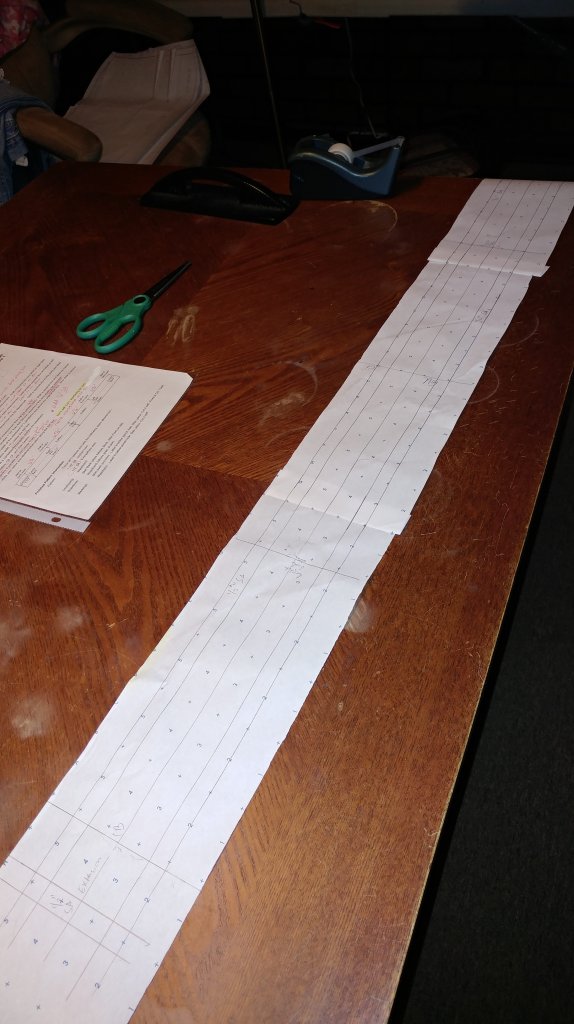
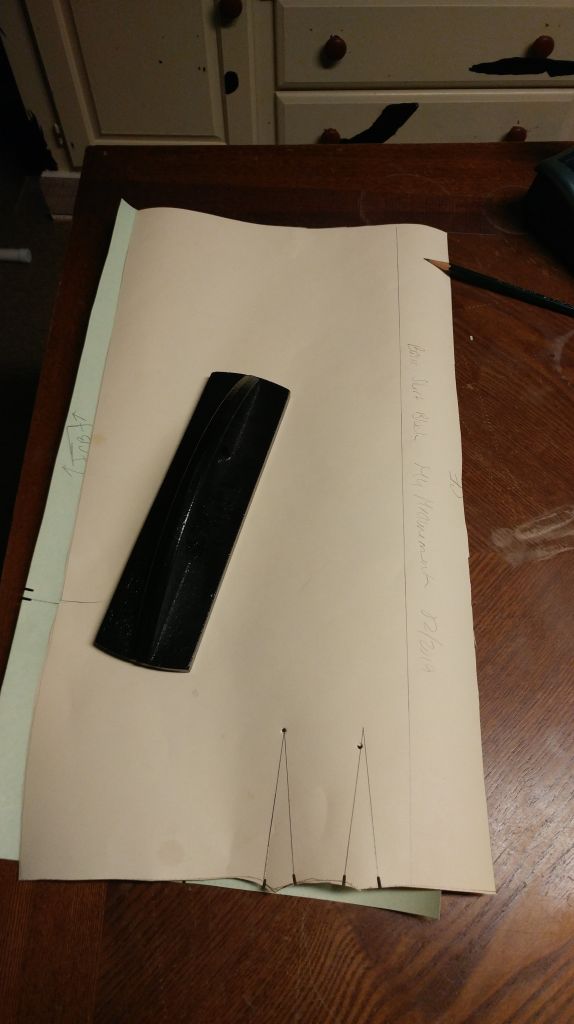
Step 3: Make a rough template of the basic skirt pattern (this will be used for the skirt sloper after measurements are accurate)
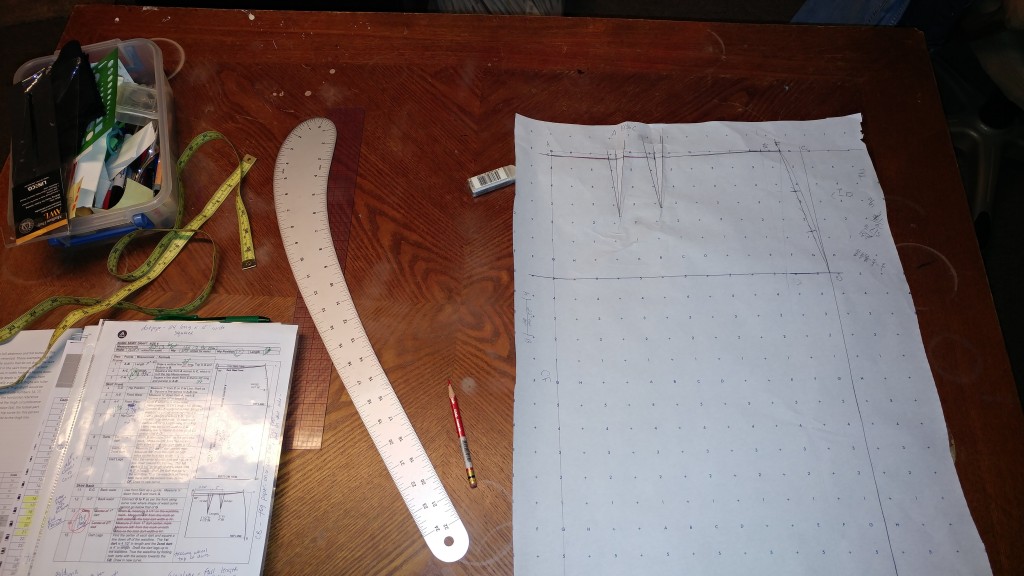
Rough for Sloper and Pattern 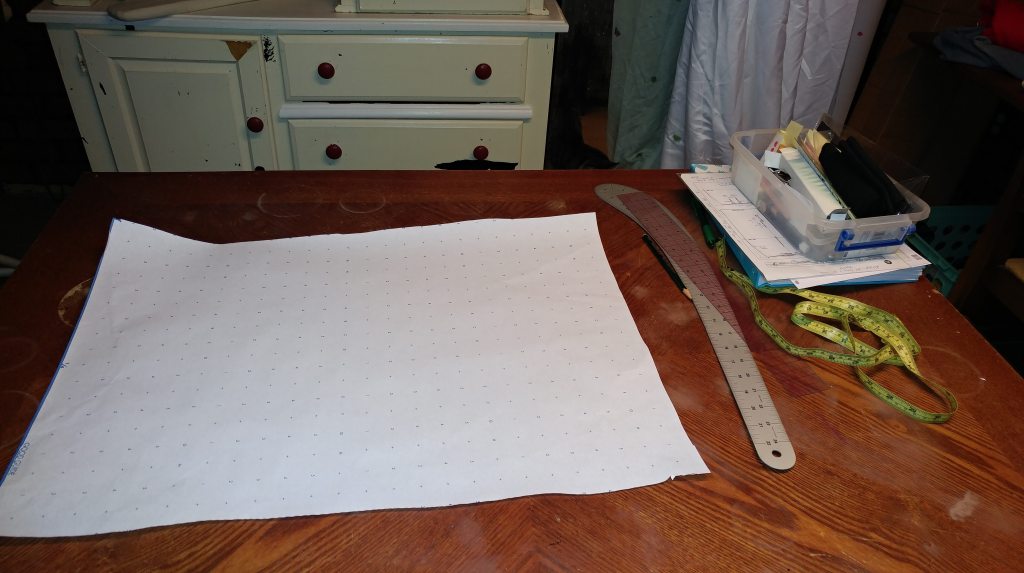
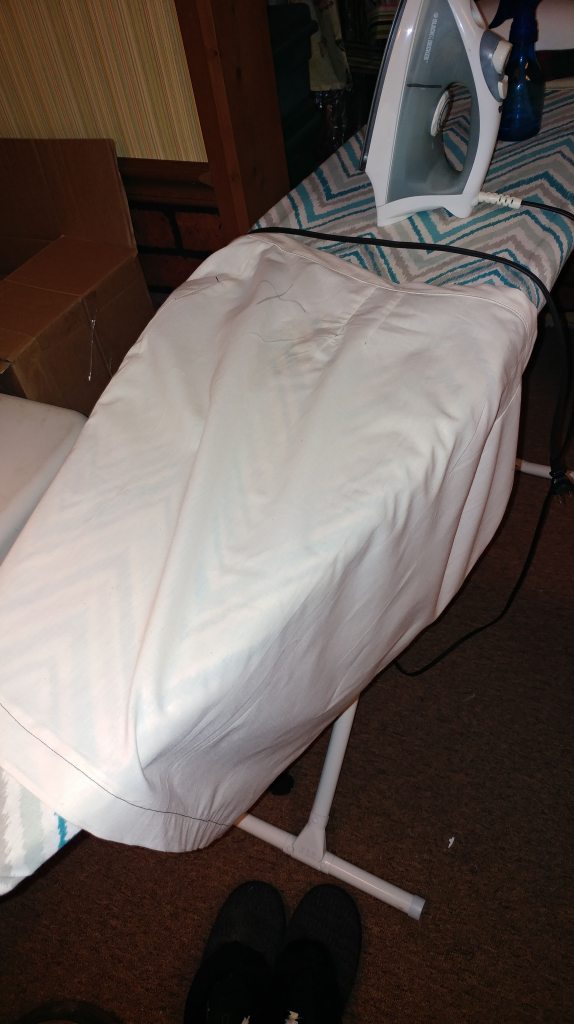
Step 4: Make a muslin to fit the client (from the rough sloper)— to be sure all measurements are accurate before moving on to the actual pattern development. (On mine, I fitted myself — I ended up being off about a half inch on each side seam)

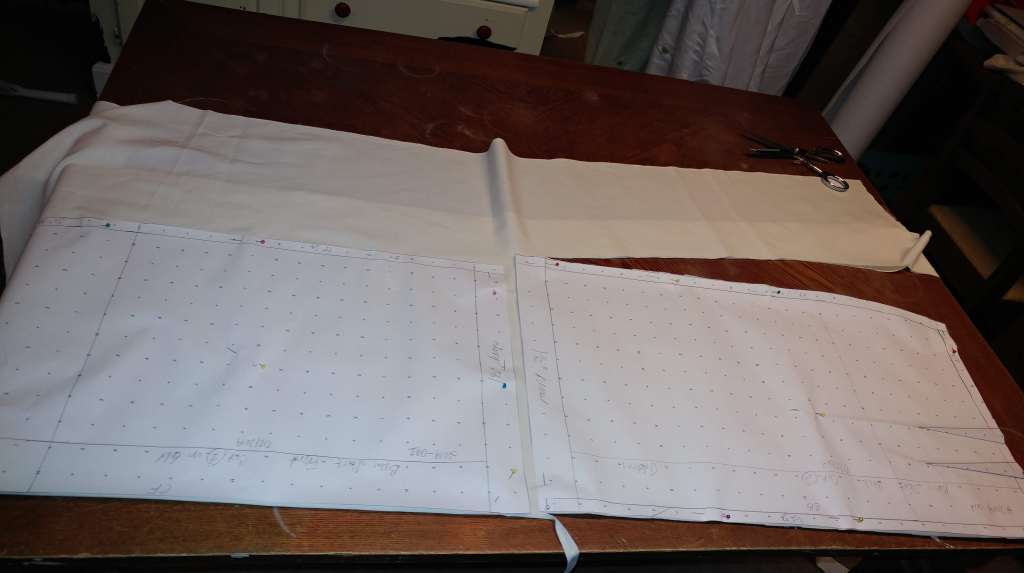
Step 5: Go back and edit the rough pattern with the new measurements — in my case removing ½ inch from each side seam (which is a total inch on each side)
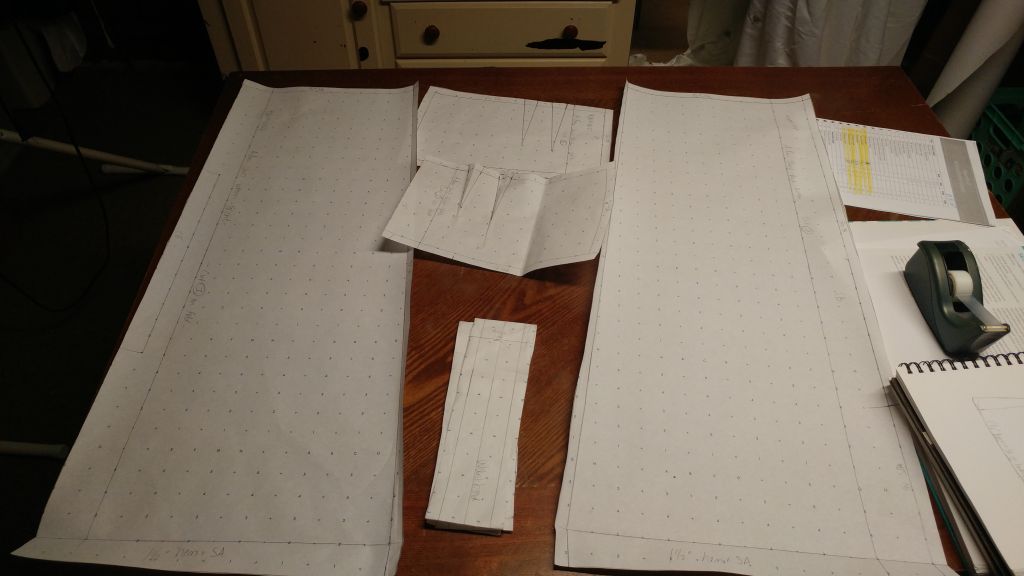
Step 6: Pattern Development for final product
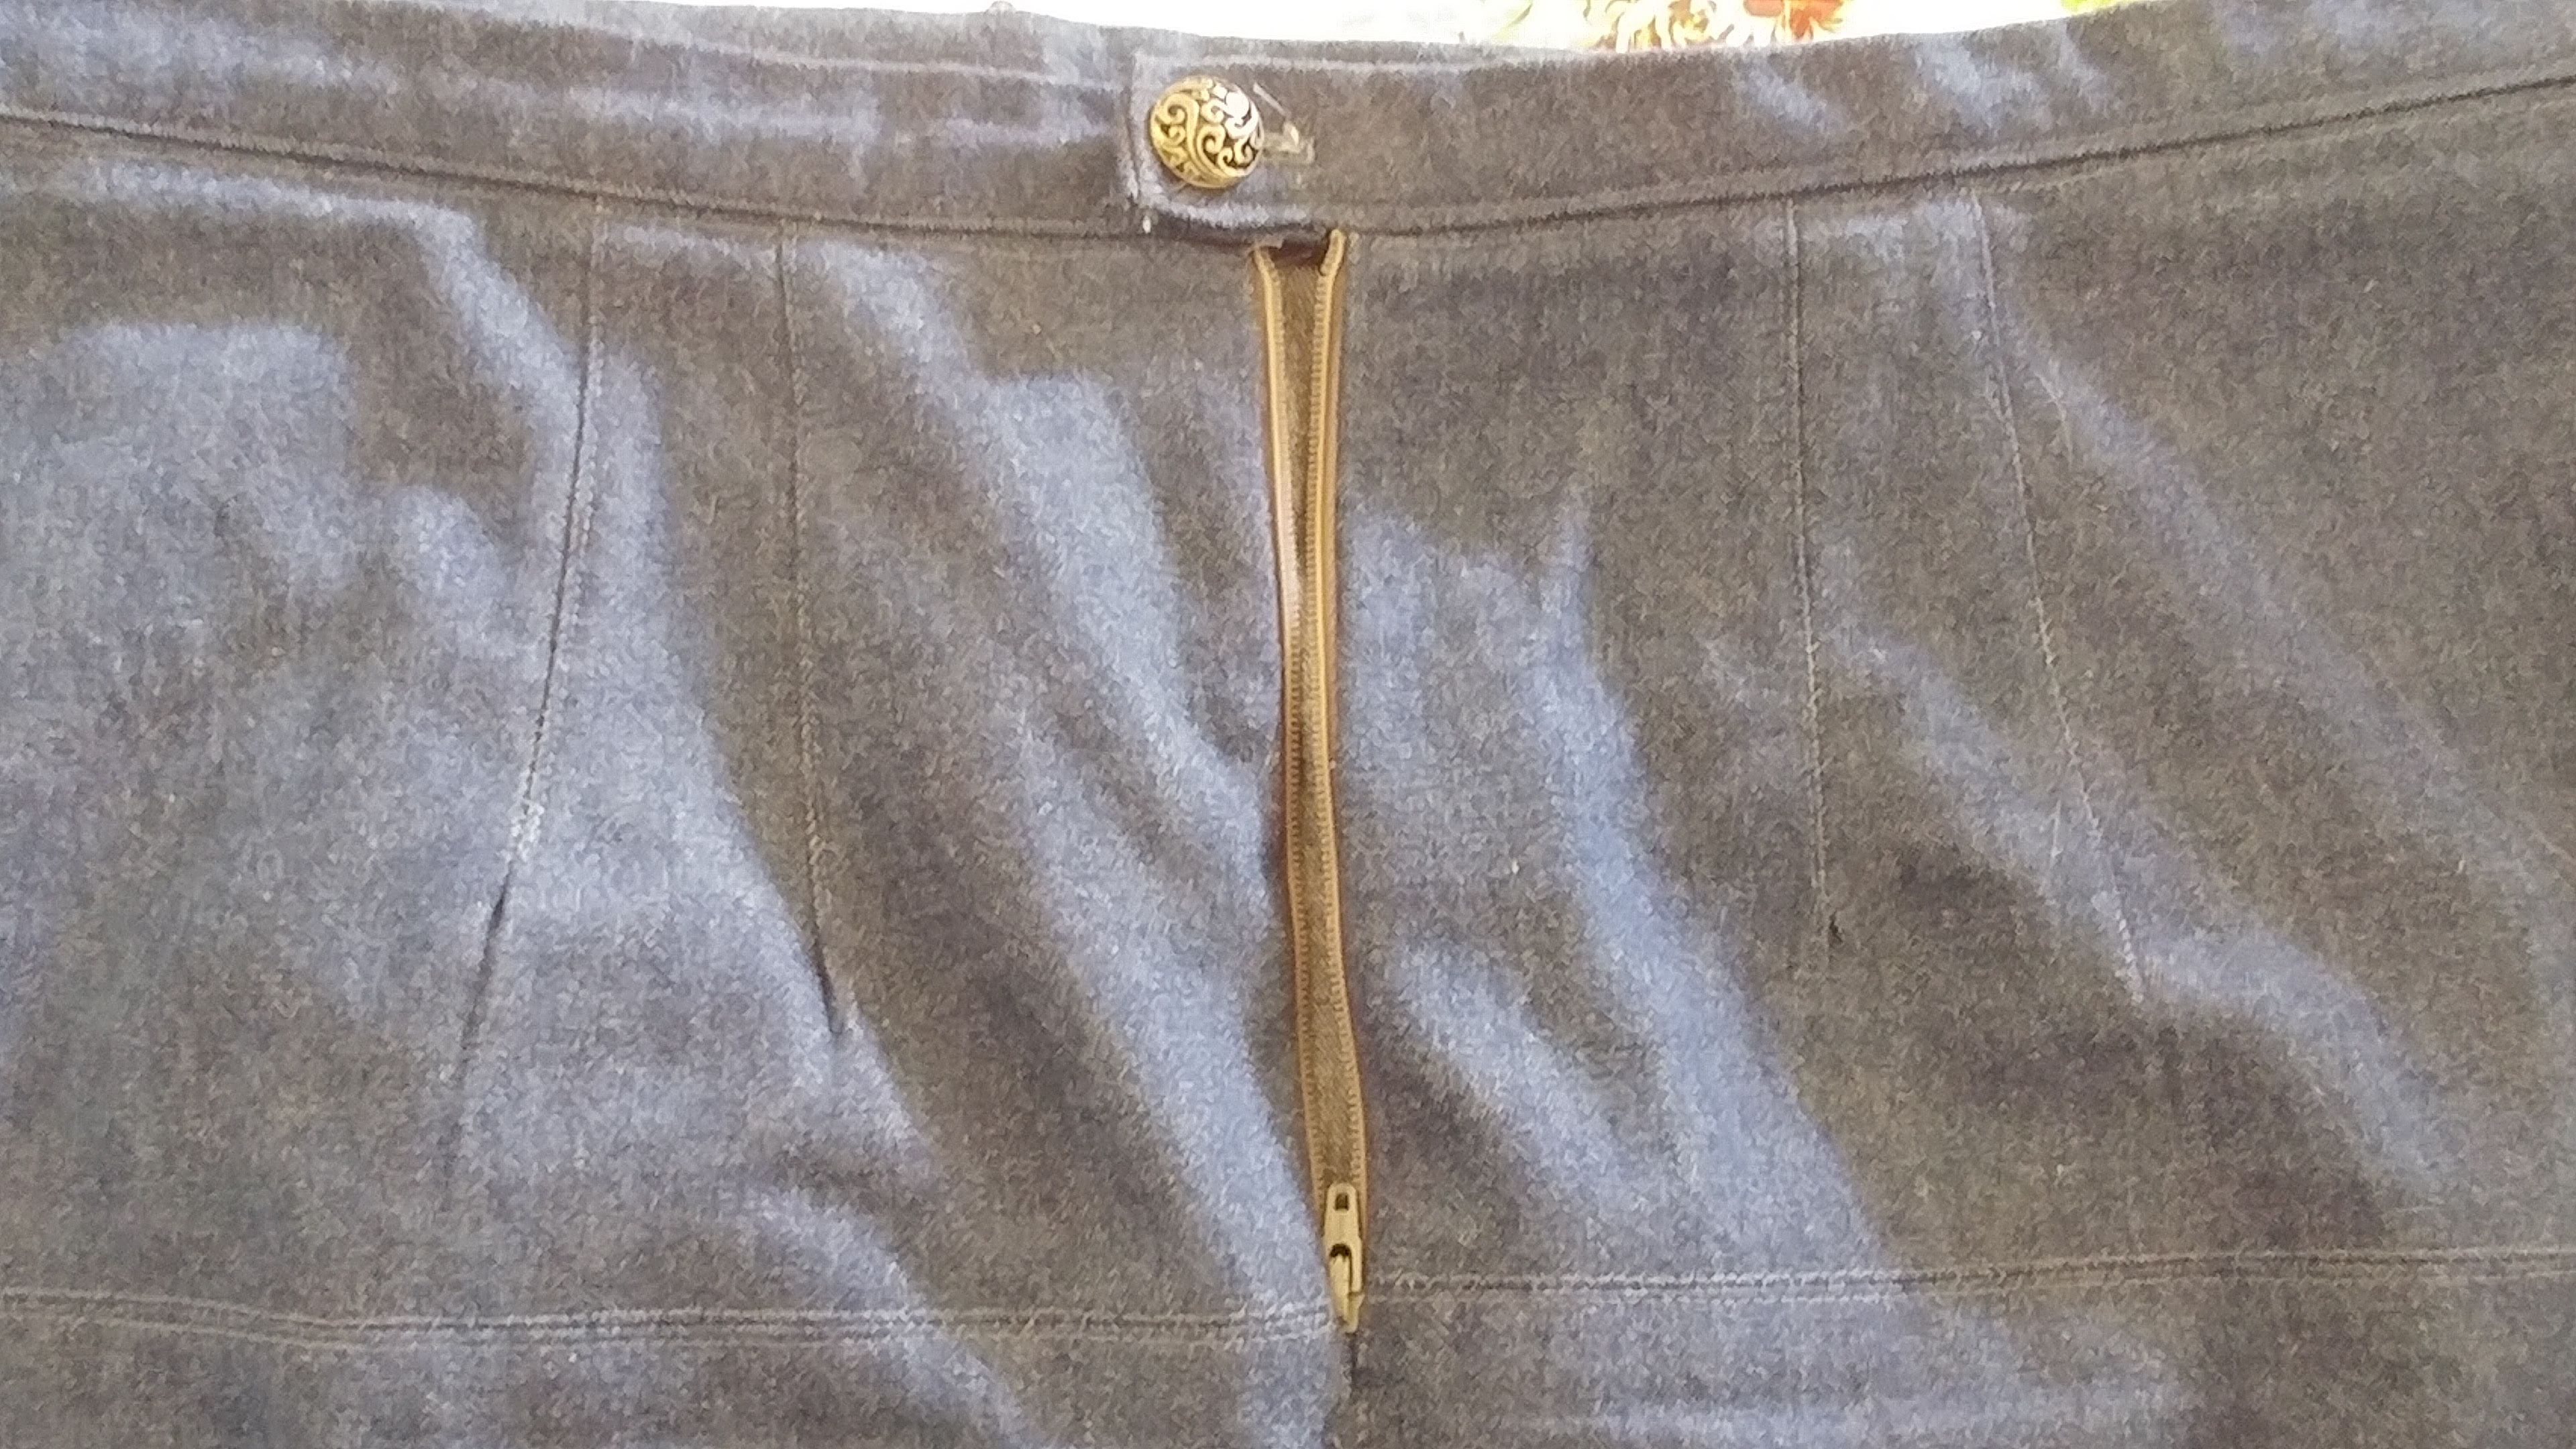
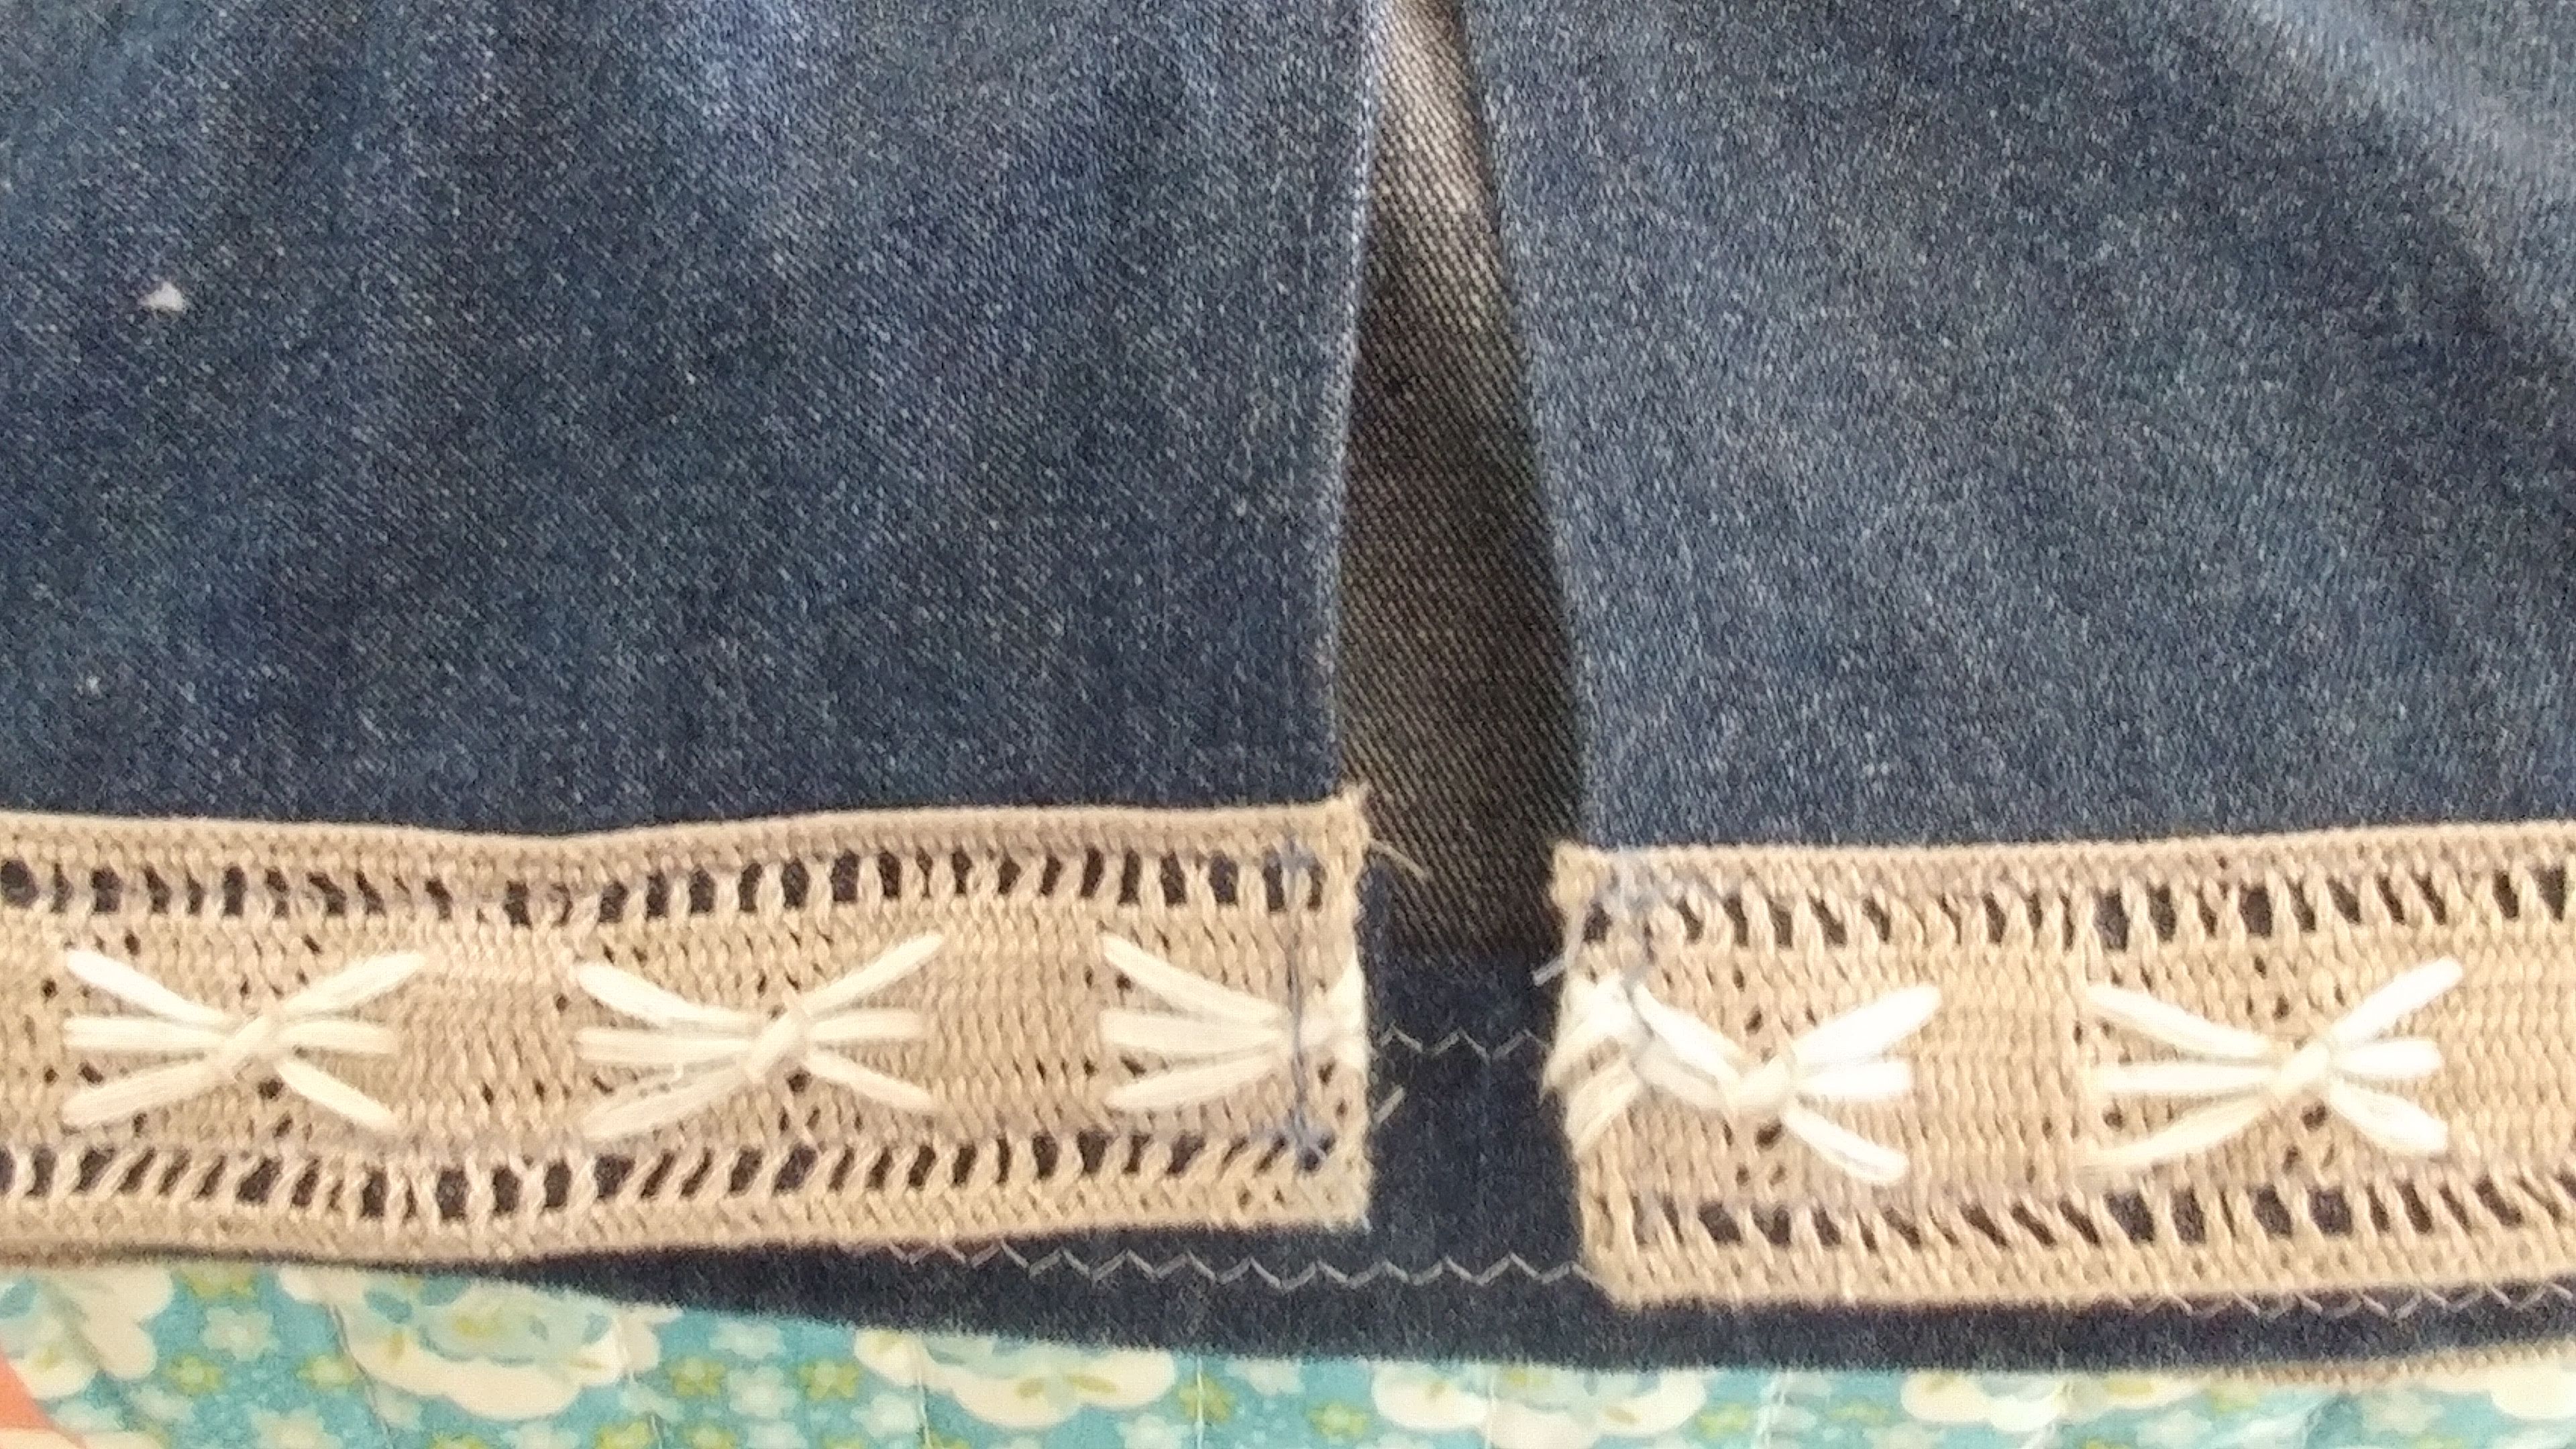
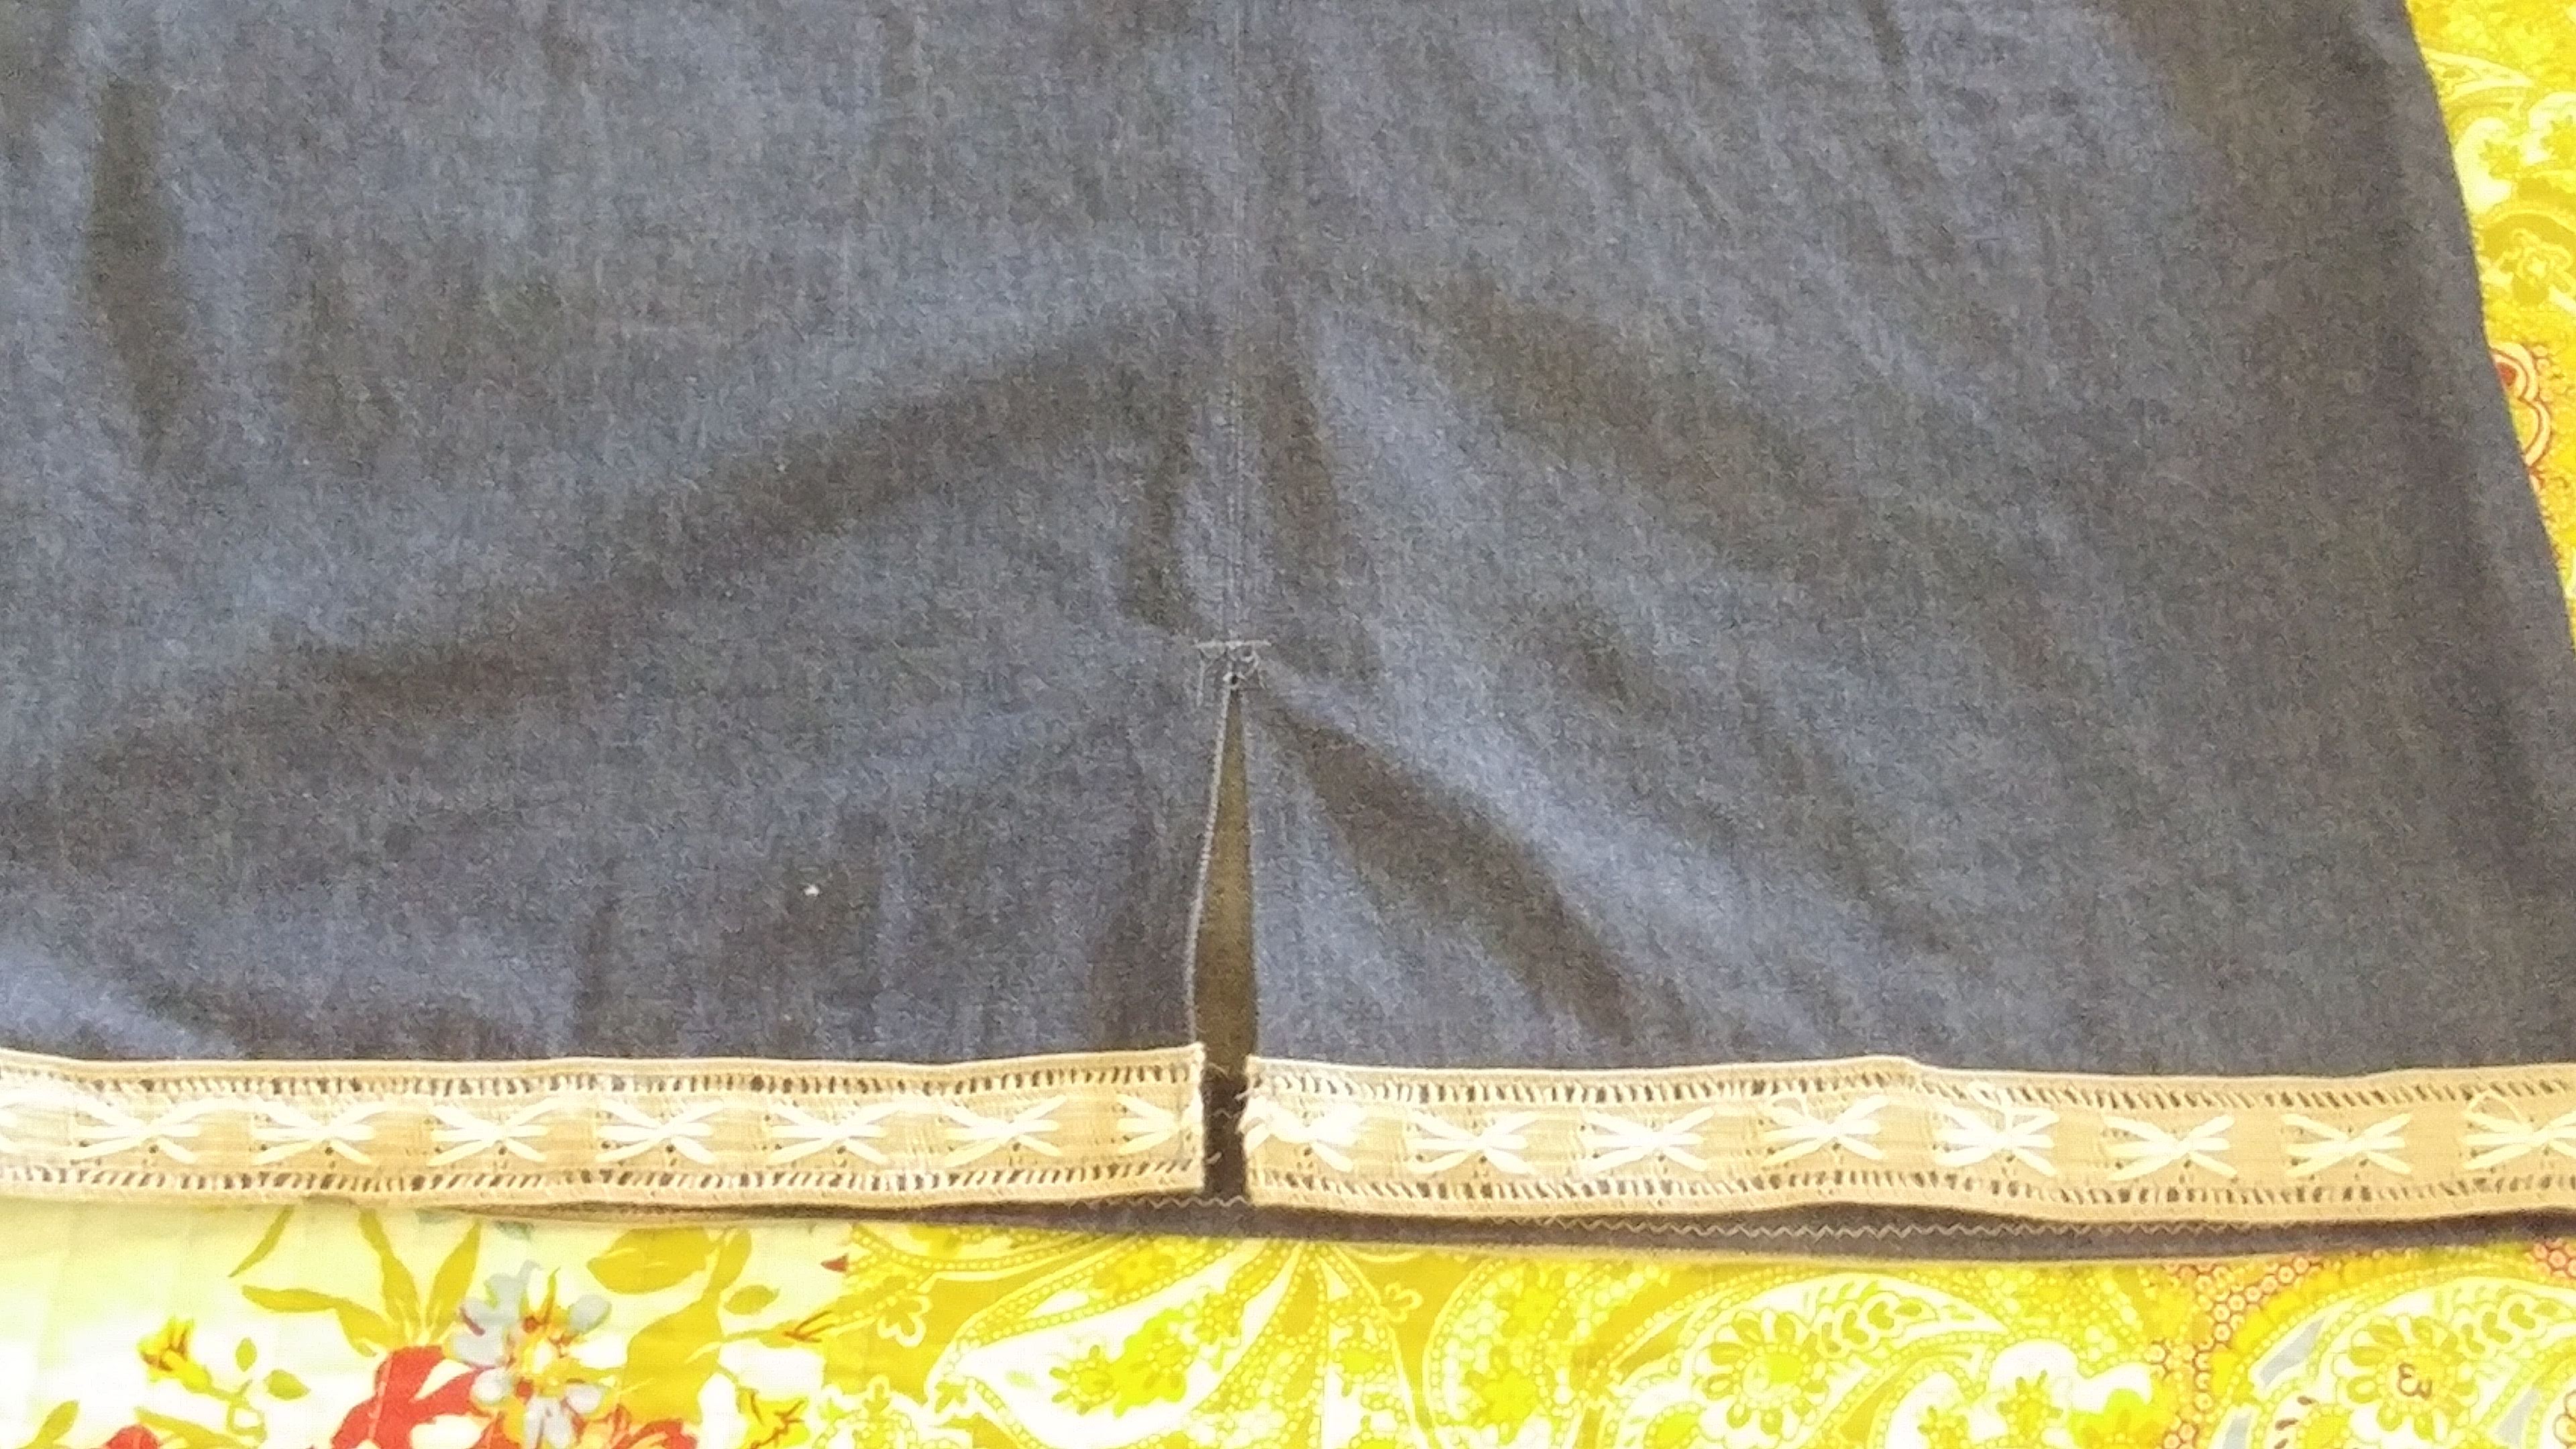
Step 7: Create the garment
Step 8: Fit the garment to the client (I stood on a chair while Andy fitted it — remember above where we needed to bring it in an inch on each side, and we had to shorten it by almost 5 inches) — Lesson learned — when you are making your own clothes — have someone fit you before you put the final stitching in the garment.
Step 9: Make any necessary changes/corrections
Step 10: Create a sloper from the basic skirt draft above, that has also been corrected from the fit on the final product. This sloper then will be used as a template to create any other type of skirt for the client in the future.
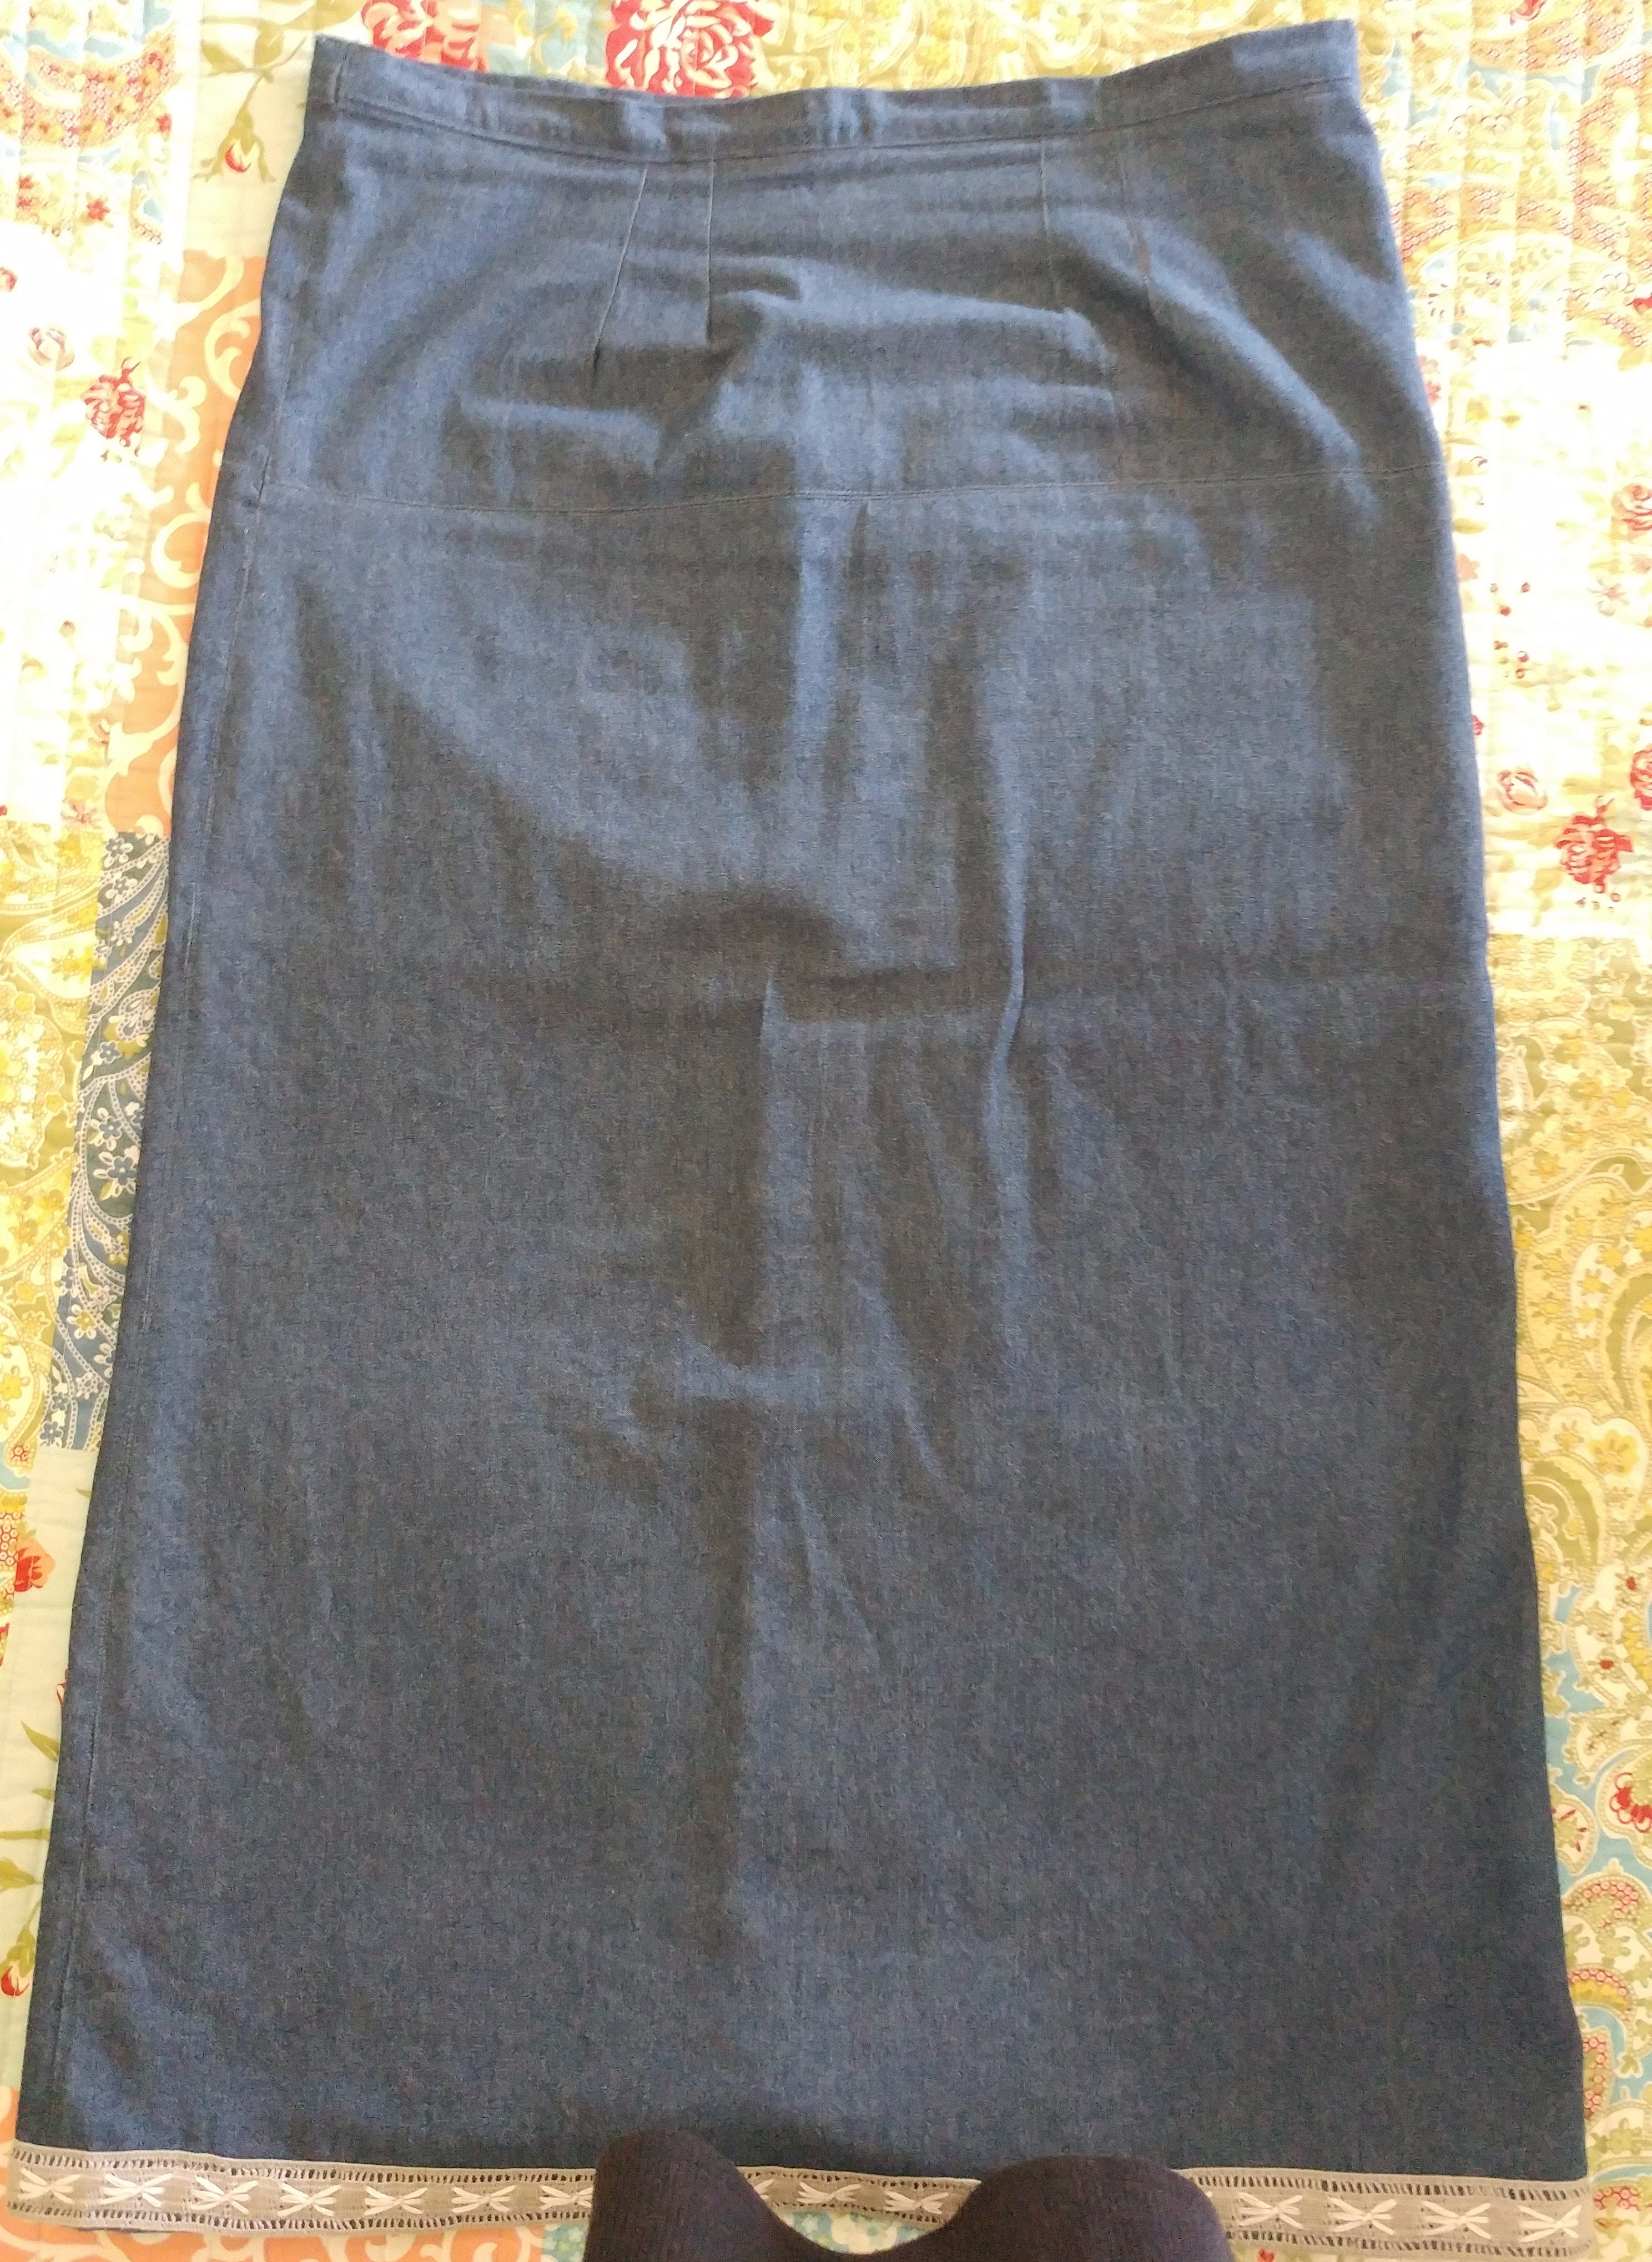
Step 11: Give garment to client or if yours, Wear it proud!